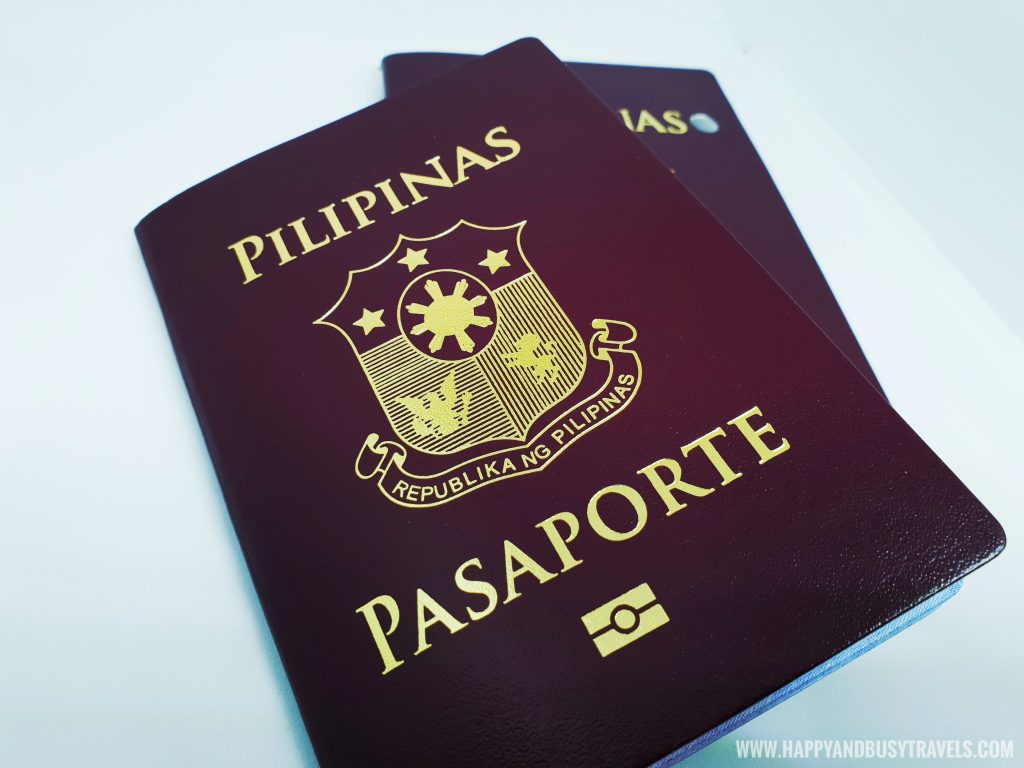
Have you ever wonder how do you apply for a new passport or renew your passport? Here is a quick Philippine Passport Guide.
Quick Links
- How to renew or apply for a new passport?
- Processing Fee and turn around time
- New Passport and Renewal application requirements
- Courtesy Lane (Who are allowed to process their passport without an appointment?)
- Steps on how to set an appointment
![]()
How to Renew or Apply for a Passport?
Step 1 – Schedule an Appointment
Set your preferred appointment online through https://www.passport.gov.ph/appointment
If you need help on how to set an appointment, click here for the guide 👉 Set an appointment
Step 2 – Pay the Processing Fee
Paying the processing fee is easy, there are a lot of payment centers:

Step 3 – Print the Confirmed Appointment Slip
After paying the applicable fees, an email will be sent to you. Save it and print the confirmation.
Step 4 – Prepare the Requirements
Make sure that all of your requirements are complete. For the list of requirements, click here.
Step 5 – Go to the DFA Consular Office
Bring the requirements, printed appointment slip, and most importantly… bring yourself 🙂
![]()
Processing Fees
Regular Processing: Php 950.00
Rush Processing: Php 1,200.00
Penalty for lost or damaged passports: Php 350.00
Note: If your appointment is on a Saturday, processing fee is automatically Php 1,200.00
Turn Around Time
Metro Manila Offices
Regular Processing: 15 working days
Rush Processing: 8 working days
Provincial Offices
Regular Processing: 15 working days
Rush Processing: 10 working days
Note: Courier delivery time is not included.
![]()
Requirements
Here are the requirements for new applicants and for renewal. (Source www.dfa.gov.ph)
Adult New Applicant
- Confirmed Online Appointment
- Filled up Application Form
- Personal Appearance
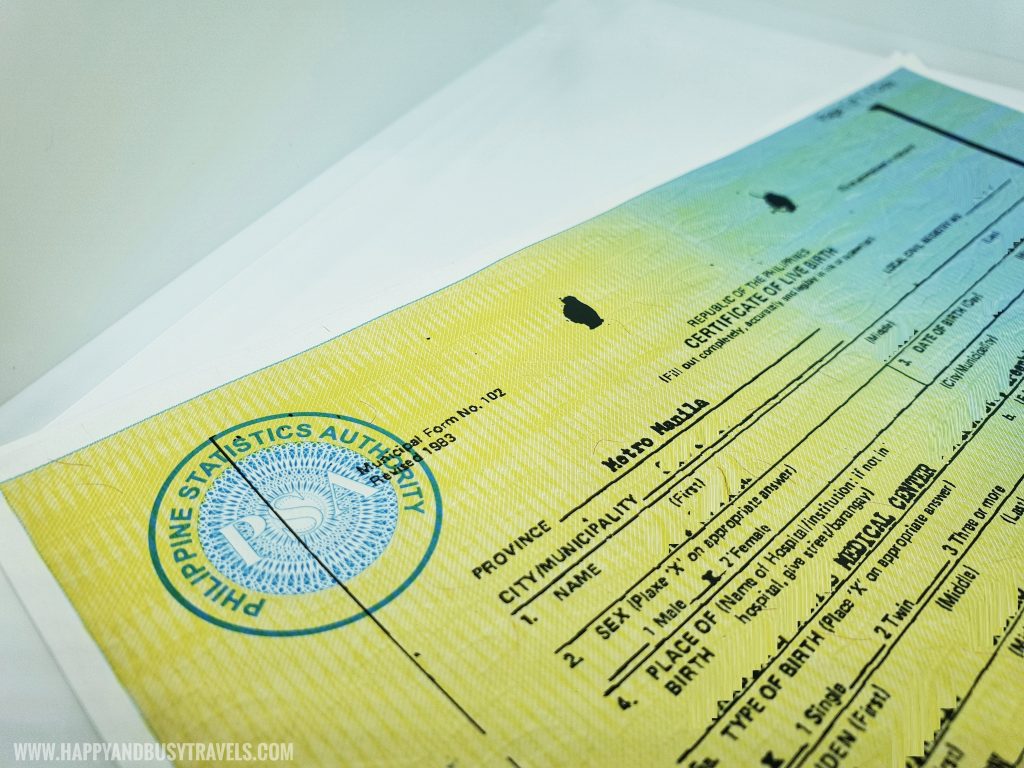
- One original and one photocopy of your Philippine Statistics Authority (PSA) birth certificate.
- Valid ID (Click 👉 here for the list of acceptable IDs) Bring the original and prepare one photocopy
- Optional: Marriage Certificate for married woman. If maiden name will be retained, no need for this document.
Adult Renewal
- Confirmed Online Appointment
- Filled up Application Form
- Personal Appearance
- Current ePassport, and bring one photocopy of the data page
- Optional: Marriage Certificate for married woman. If maiden name will be retained, no need for this
Minor New Applicant
- Confirmed Online Appointment
- Filled up Application Form
- Personal Appearance of the minor and the parent or an authorized companion.
- One original and one photocopy of your Philippine Statistics Authority (PSA) birth certificate.
- Marriage Certificate of parents (only if the child is accompanied by one parent)
- Valid ID of any of the parent (Click 👉 here for the list of acceptable IDs) Bring the original and prepare one photocopy
- School ID (if applicable)
Minor Renewal
- Confirmed Online Appointment
- Filled up Application Form
- Personal Appearance of the minor and the parent or an authorized companion.
- Current ePassport, and bring one photocopy of the data page
- Marriage Certificate of parents (only if the child is accompanied by one parent)
- One original and one photocopy of proof of guardianship
- Valid ID of any of the parent (Click 👉 here for the list of acceptable IDs) Bring the original and prepare one photocopy
- School ID (if applicable)
Lost Passport
- All of the requirements under new application (as mentioned above)
- English Police Report (one original and one photocopy)
- English Affidavit of Loss (one original and one photocopy)
Notes:
- Additional Php 350 fee for lost passports
- Additional 15 days clearing period
List of Acceptable IDs
(Source www.dfa.gov.ph)
- Social Security System (SSS) Card
- Government Service Insurance System (GSIS) Card
- Unified Multi-Purpose Identification (UMID) Card
- Land Transportation Office (LTO) Driver’s License.
- Professional Regulatory Commission (PRC) ID
- Overseas Workers Welfare Administration (OWWA) E-Card
- Commission on Elections (COMELEC) Voter’s ID
- Philippine National Police (PNP) Permit to Carry Firearms Outside Residence
- Senior Citizen ID
- Airman License (issued August 2016 onward)
- Philippine Postal ID (issued November 2016 onward)
- Valid or Latest Passport (For Renewal of Passport)
- For minor applicants, School ID OR Certificate of Enrolment with photo of minor and dry seal of school may be presented
- For applicants based overseas, they may use their host government issued IDs showing their Philippine citizenship. (Example: Residence Card)
![]()
Courtesy Lane
Who are allowed to apply for a passport or renew their passport even without an appointment?
(Source www.dfa.gov.ph)
- Senior Citizen
- People with Disabilities
- Solo Parent with solo parent card, and his/her minor children
- Children from 7 years old and below and their parents and minor siblings
- Pregnant woman
- Overseas Filipino Workers
- Government Employees (applicable only in DFA Aseana)
Note: Proof should be shown. For example, a senior citizen must have an ID showing his date of birth.
![]()
Steps on How to Set an Appointment
Below are the steps on how to set DFA passport appointment. Everybody is mostly using their cellphones so we have attached some pictures which were cellphone screenshots from DFA’s website.
Step 1 – Agree to the terms
Use your laptop, cellphone, or tablet to access Department of Foreign Affairs’ (DFA) passport appointment website:
https://www.passport.gov.ph/appointment
After going to the passport appointment website, a few pointers, and the terms and conditions are shown. You have to click on the small box below to acknowledge that you have read and understood the terms and conditions. Then start an individual or group appointment.

On the next screenshots, we will show how to set an individual DFA passport appointment.
Step 2 – Choose a Site Location
Choose a DFA office that is near you so it will be easy for you to visit them. We are from Cavite, so we chose the newly opened DFA SM Dasmarinas Consular Office.

After choosing, click on the “next” button.
Step 3 – Pick a Date and Time
Choose a date with a green color, this means that there are available schedules on those dates. If the dates are all red, click on the next month and check if there are still any available dates. Then, after choosing a date, choose a time slot. Click on the box saying “I’m not a robot”, and click “next.”

No more available slots? Here are some tips:
- Refresh the page every 2 hours, there might be a new slot.
- Check again the next day
- If you really need to renew your passport within the next few months, go back to step 2 and choose another DFA branch.
- If you are not in a rush and renewing can wait, try again after a while. DFA will open slots for the next month.
Step 4 – Provide your Personal Information
Fill in the required fields with your personal details. Make sure these are correct. Then, click next.

Step 5 – Provide your Family Information
Indicate the name of your parents, and your citizenship. Then, click “next.”

Step 6 – Application Information
This is the portion wherein you have to say if you are applying for a new passport or just a renewal. In this guide, we clicked renewal.

Certain information should be indicated in the form. After you have answered the form, click “next.”
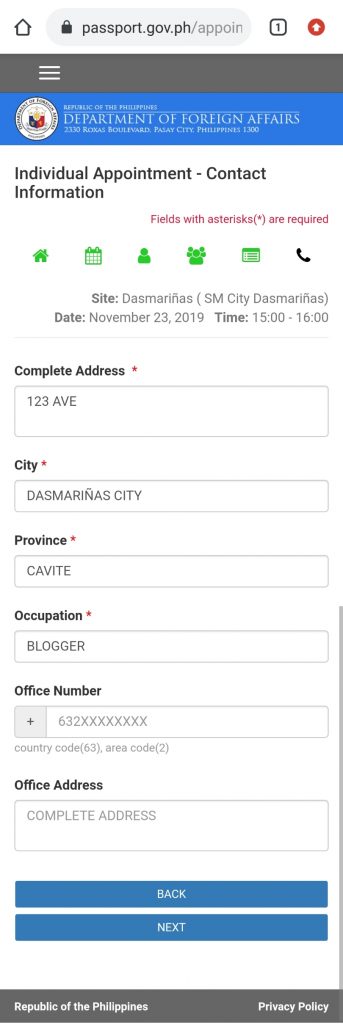
Step 7 – Contact Information
This is the part where you have to indicate your contact information. Make sure that everything is correct especially the email address because the appointment confirmation will be sent here.
Step 8 – Review your Information
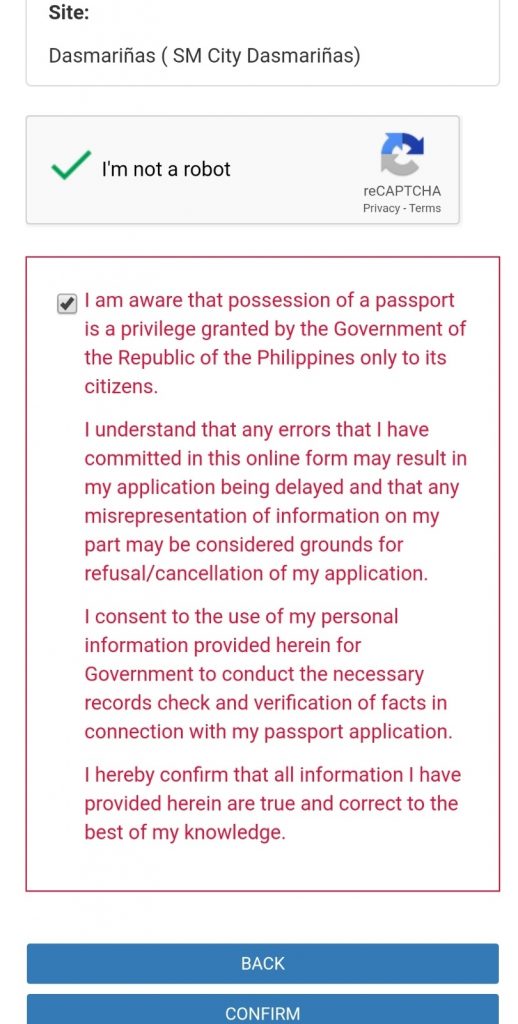
All of the details that you entered will be shown here, you must double check if everything is correct.

Zooming in… Click the box beside “I’m not a robot” and the box near the waiver. Then, click “next.”
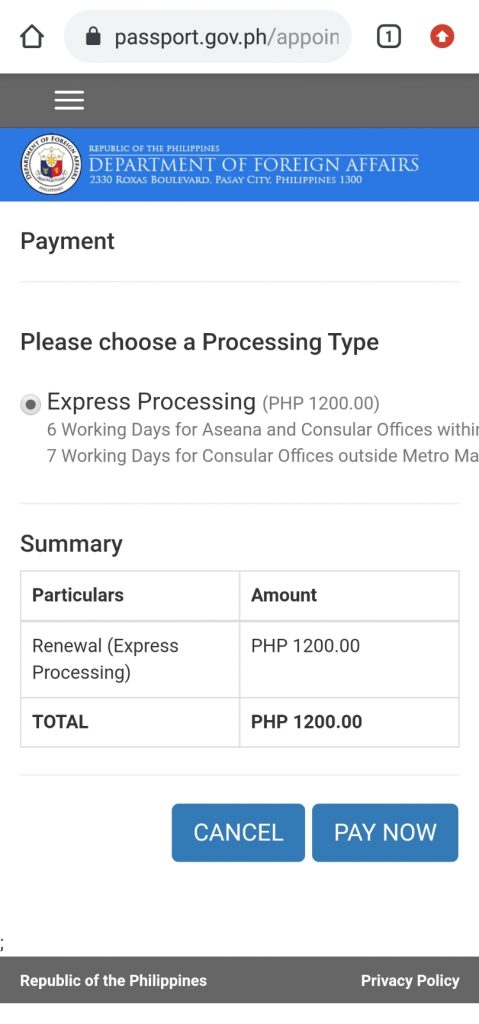
Step 9 – Payment
This is the part wherein you will be asked if you will be expediting your passport or just the usual process. After choosing, click “pay now.”
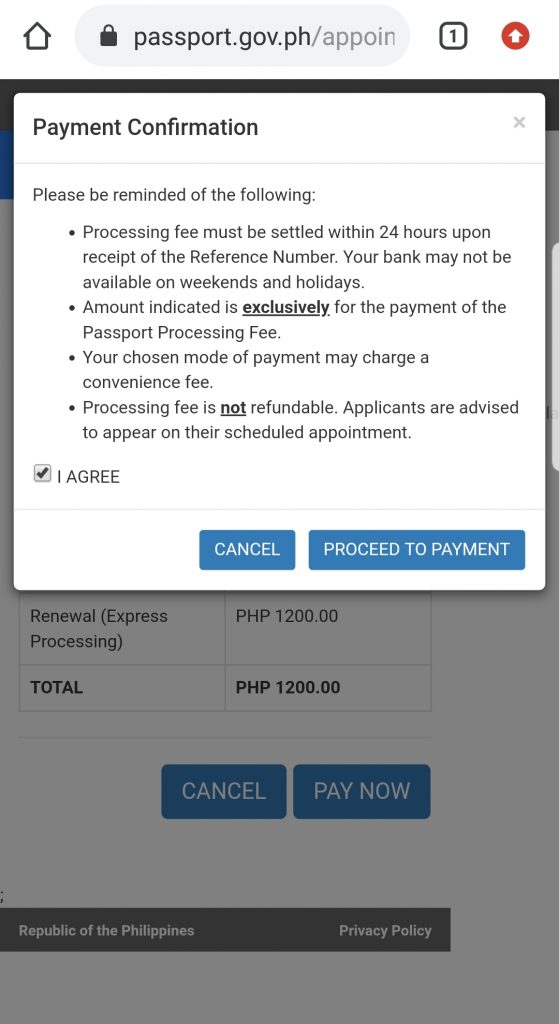
Then click “agree.”
Step 10 – Choose a payment center
There are a lot of payment centers that you can choose from. (List 👉 Payment Centers). Choose one and click “proceed.”

The reference number will be emailed to you. Save it because you will use it to pay.

After setting the appointment, you have 24 hours to pay the fees. Upon successfully paying the fees, an appointment confirmation will be sent to your email.
Failure to pay the fees after 24 hours will forfeit your chosen slot.
![]()
Do you have any other question? Leave a comment below and we’ll answer it.
More tips at https://happyandbusytravels.com/category/tips/
Like! Follow! Subscribe! to our social media accounts:


30 Comments